After hanging the mirror in the nursery, I realized that hanging a pair of something on either side would give a symmetrical look that I really crave in a room. In fact, after walking around my house, I noticed I have a pair of something hanging on either side of every mirror on the wall. So I dug out two old frames that I'd been saving. I got them at my local flea market for $10 each about two years ago.
I ordered vintage brown-toned buttons off of ebay for $8.50- a bag full of them! Then I went to Hobby Lobby and picked out two pieces of scrapbook paper that matched the decor of the room. I chose a green and white plaid gingham because of the other gingham accents in the room. It was much easier to find paper in this print, and I was afraid the buttons glued to the fabric might make it sag a little once I put it in the frame.
I laid out a design and played with it a little before actually gluing them down. For the glue, I used Liquid Stitch fabric glue. Elmer's would have probably worked too, but this stuff is really sticky, and I didn't want to risk the buttons coming loose.
After the buttons dried for a few hours, I wrapped the paper around two measured-to-fit pieces of cardboard and glued it down.
After that dried, I used a heavy duty staple gun to staple the cardboard into the frames. Overall, this project took about two hours, once I had all of the supplies at hand. I think it turned out great!
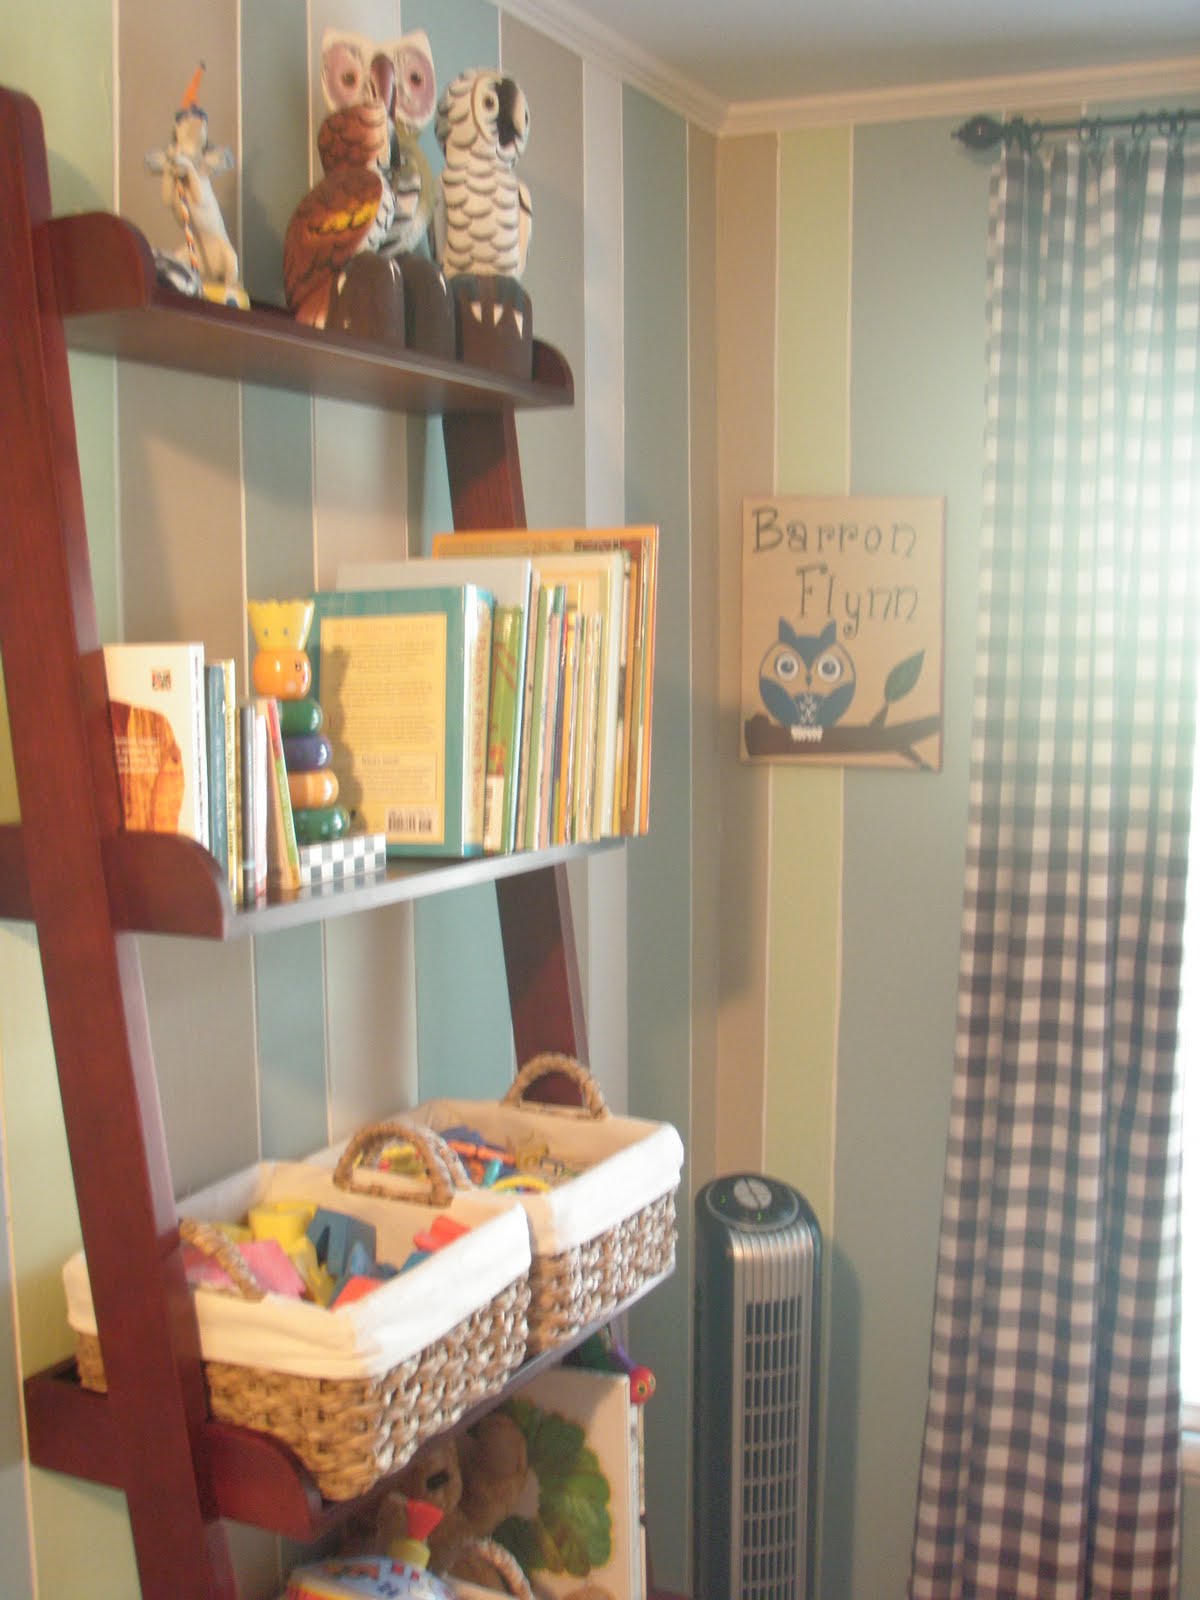
We also added a green stripe to the color pattern on the paneling, just to tie everything together. The nursery feels complete- now the only thing missing is a sweet baby boy!
Have a happy Mother's Day!